Share a View with Other Users
How to share a report or a schedule view with specific users
Overview
The Share feature allows you to share views with users of your choice.
Who Can Use This Feature?
All users with permission to share views can use this feature.
Key Benefits
- Targeted Sharing: Share views only with users who need them
- Reduced Clutter: Prevents unnecessary views from appearing for all users
- Flexible Selection: Choose users manually or set dynamic filters based on roles/teams
- Simplified Deployment: Easily set up initial views for different user personas
Accessing the Feature

- Navigate to any view you wish to share from the left menu
- Click the Share with... option in the view's menu
- The Share panel will open on the right side of the screen
Using the Feature

Share Panel Options
The Share panel offers two methods for selecting users:
Manual List
- Displays all resources grouped by team
- Allows direct selection of specific users
Dynamic List
- Define criteria that automatically determine which users can access the view
- Available filters include Position, Role, Team, and custom resource fields
- Users who match the filter criteria will automatically see the shared view
- When new users are added to your organization that match the filter criteria, they'll automatically gain access
Sharing Process
- Select Sharing Method: Choose either Manual list or Dynamic list from the toggle at the top of the panel
- Select Users or Define Filters:
- For Manual list: Check the boxes next to user names
- For Dynamic list: Add one or more filters
- Review Selection: The panel will display which users will receive access
- Save Your Settings: Click the Save button at the bottom of the panel
Managing Shared Views
- Stop Sharing: To make a view private again, reopen the Share panel and click Stop
- Modify Sharing: You can change between manual and dynamic lists or adjust your selections at any time
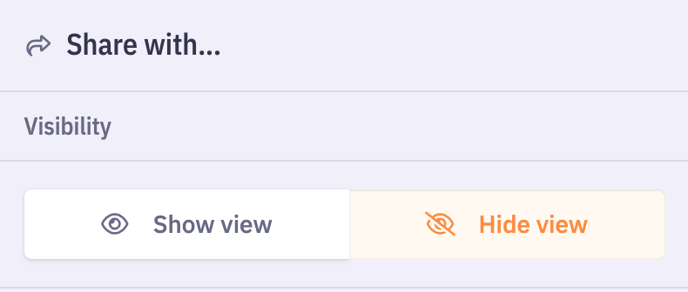
Visibility 
Shown View: A view is considered shown when it is visible in the left panel after being shared by someone. It appears directly in the list of available views for the collaborator.
Hidden View: When a view is shared in hidden mode, it is initially not visible in the collaborator’s list. The collaborator can then choose to show or keep it hidden, depending on their needs.
Shared View Updates
When a Shared View is updated, any changes made are immediately visible to all resources who have access to that view.
This ensures that everyone sees the same information, keeping data consistent across the team and preventing discrepancies.
Related Articles :
How to adjust display settings for different views in Beeye?